Spring is in the air
/Welcome to my monthly update on all things to do with creating homes with classic charm and relaxed appeal.
I love August because you always get a sense of spring being just around the corner. But then August plays that trick of a cold snap just to keep you on your toes and realise it is still Winter. I also love August as it is our eldest son’s birthday so it always brings me back to the joy of becoming a mum and our family growing from the two of us to three then four.
I feel that this spring could be a bit like a new birth, as we have been tucked up under our donnas in lockdown, but hopefully we will get to come out soon and enjoy the warmer weather. We will be able to smell the roses without a mask on and enjoy each other’s company at a picnic in the park.
So, with spring now just a day away, let’s brighten up the mood with some great spring decorating tips.

DESIGN IDEAS
1. TABLE DECORATION
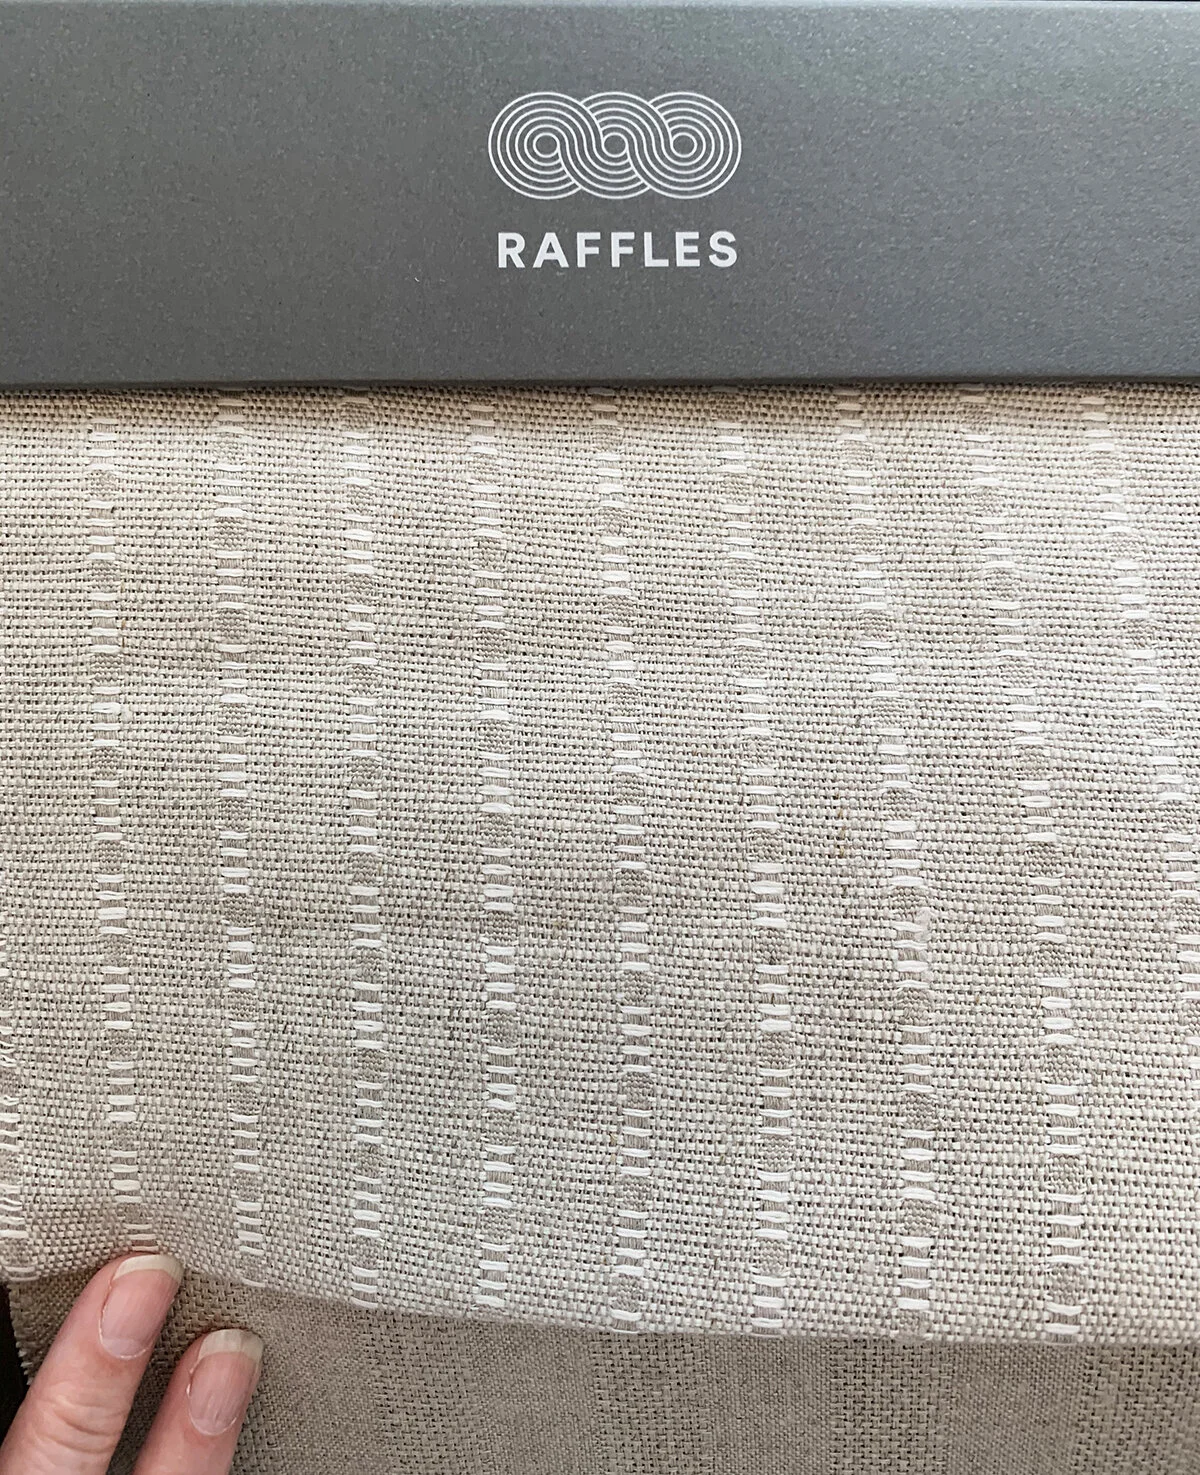
Give your dining table a lift with a light textured table runner and vase of flowers.
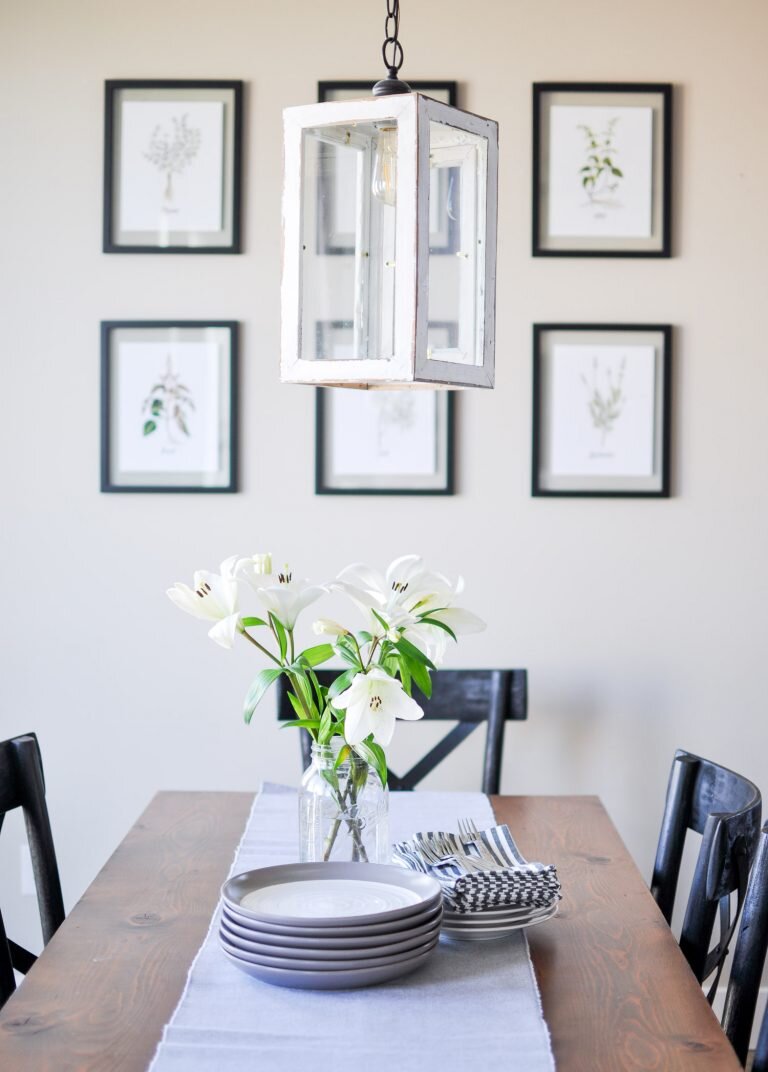
Image courtesy of Cherished Bliss
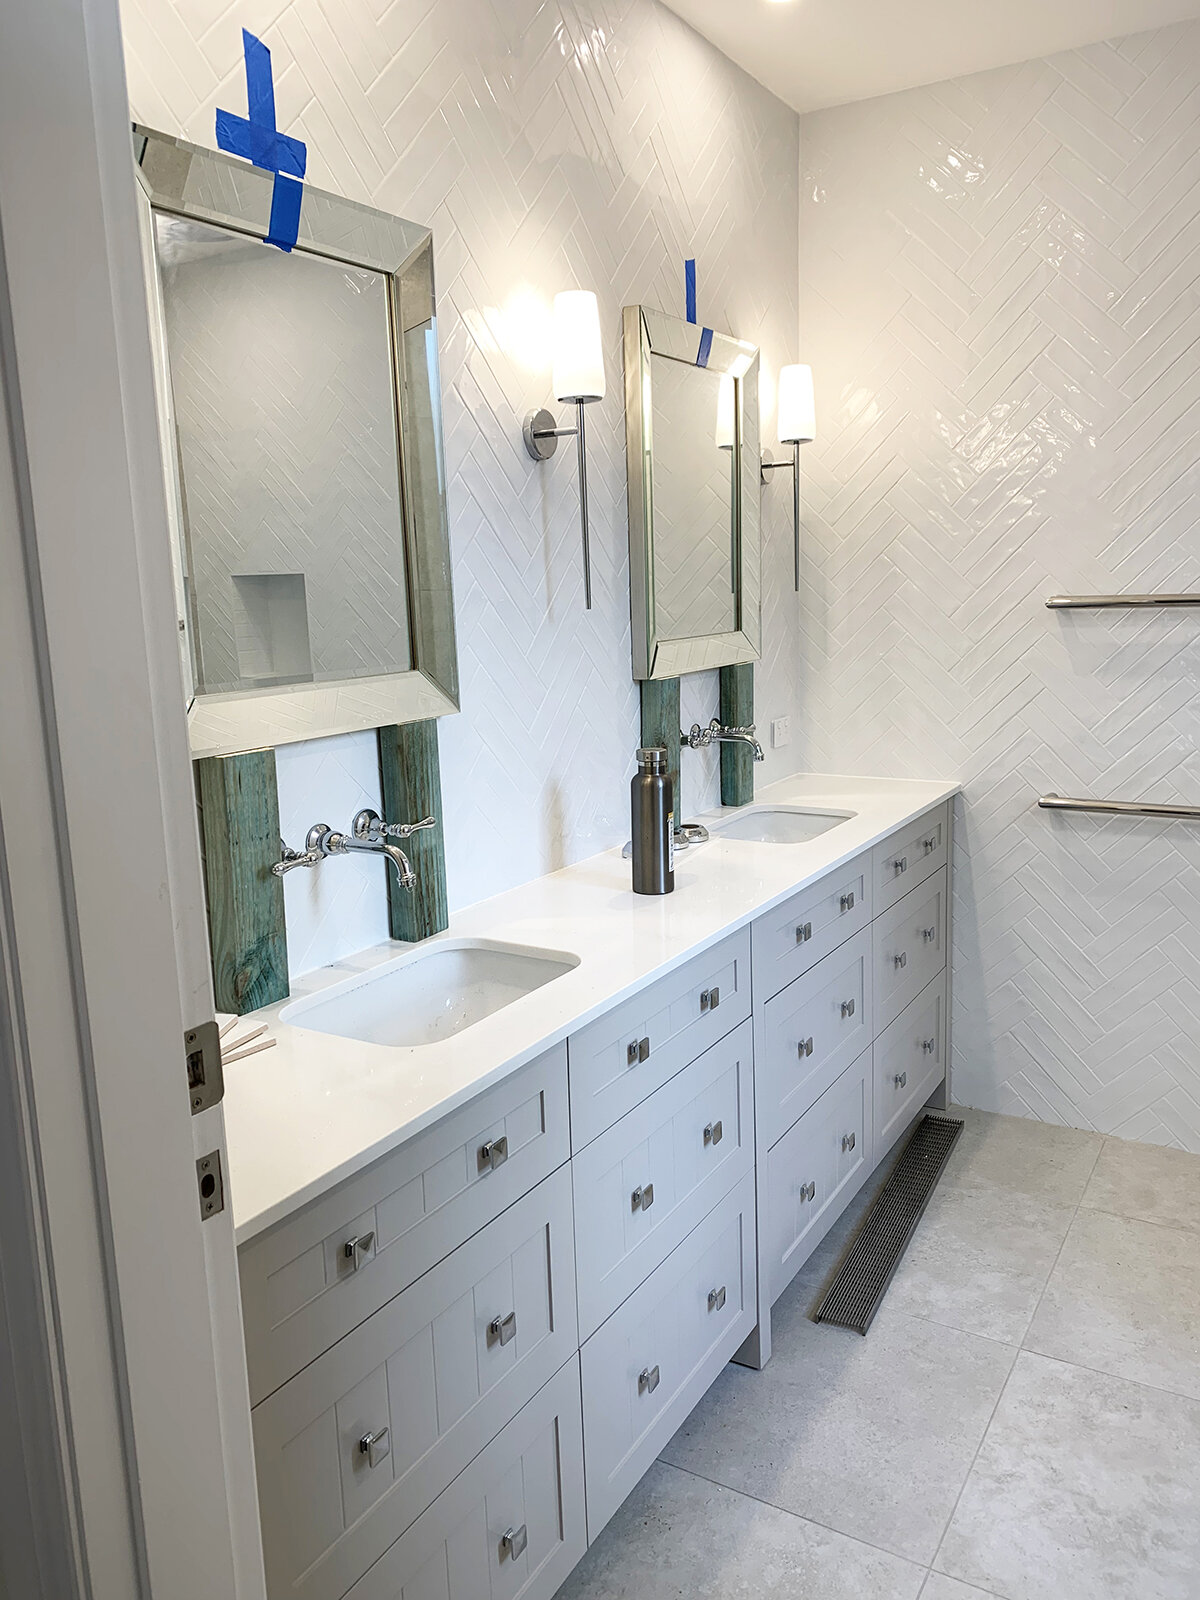
2. PLAY WITH THE LIGHT
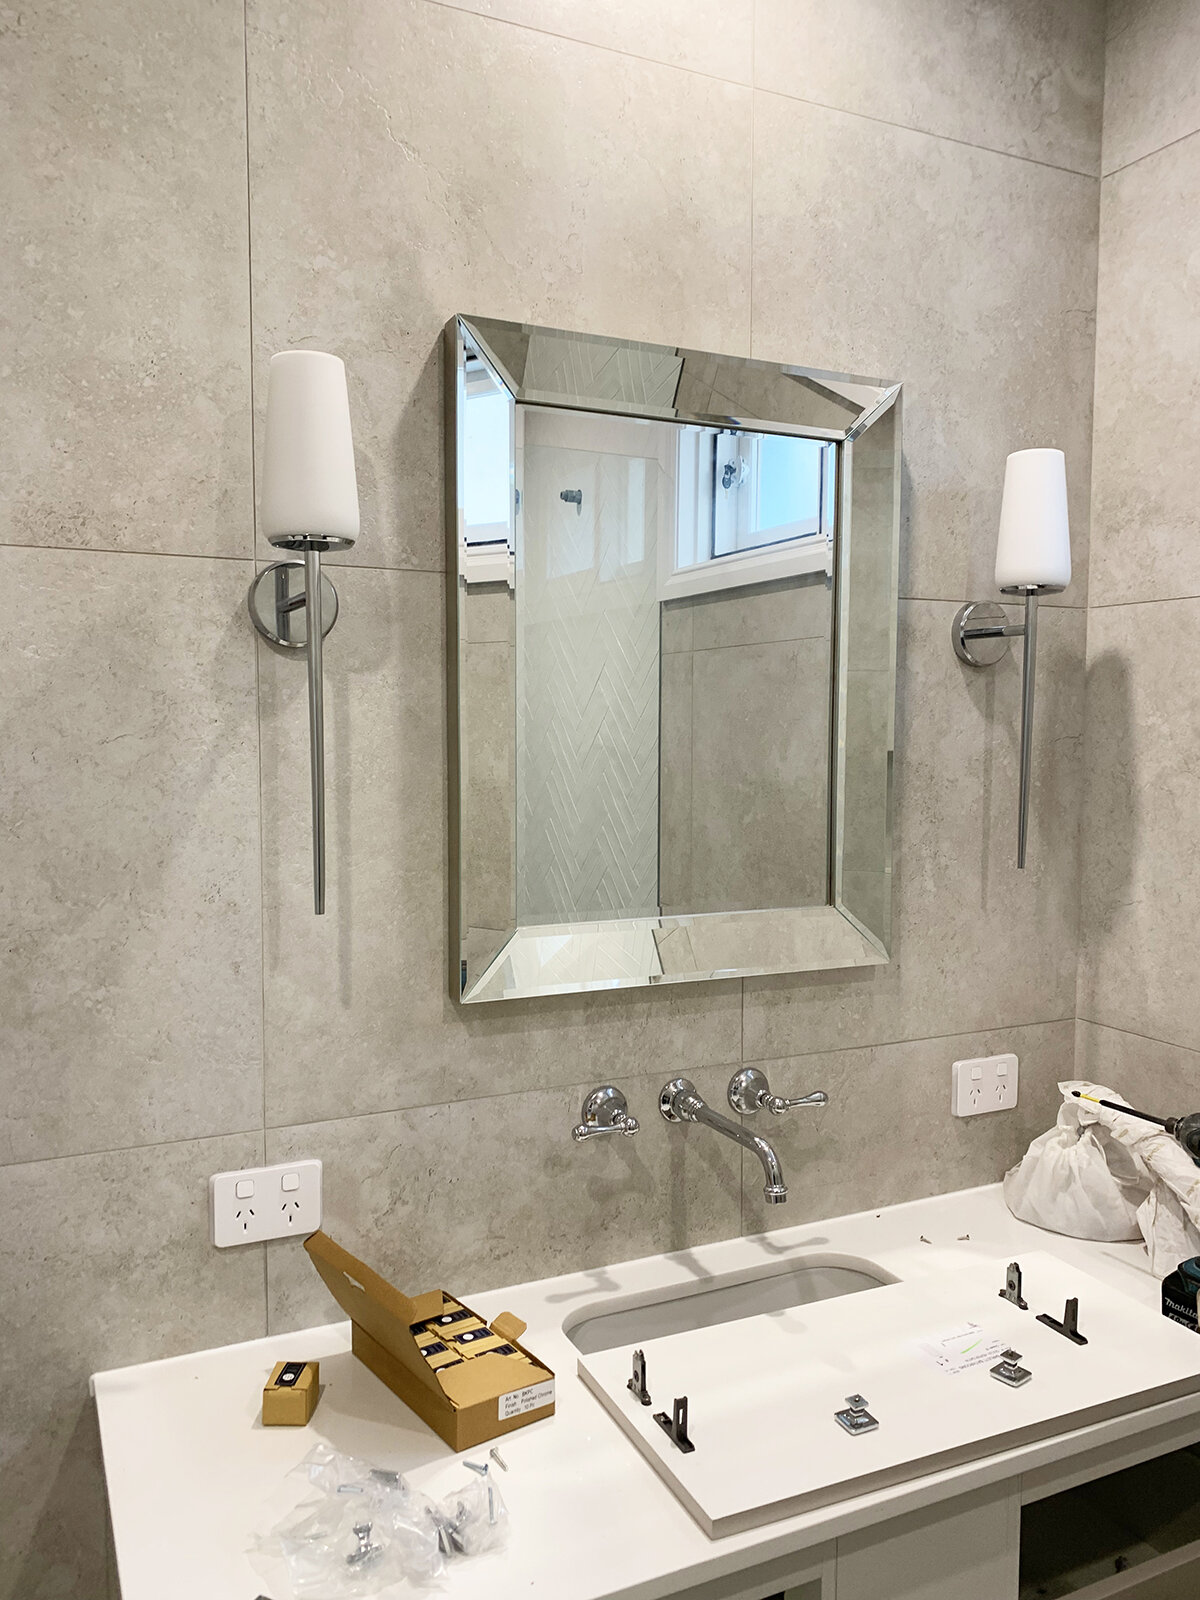
Stock up on mirrors and use them to bounce light around your room. You can display them in groups to make them decorative. This will help you fake the illusion of a brighter space.
3. BRING IN THE GREENERY
Spring blooms add a lovely touch to the home in a gorgeous vase as does any greenery from the garden. Use an indoor planter with green succulents. Mix these in amongst books or décor items. You can also add greenery through your décor, ie green cushions, vases, even art etc.
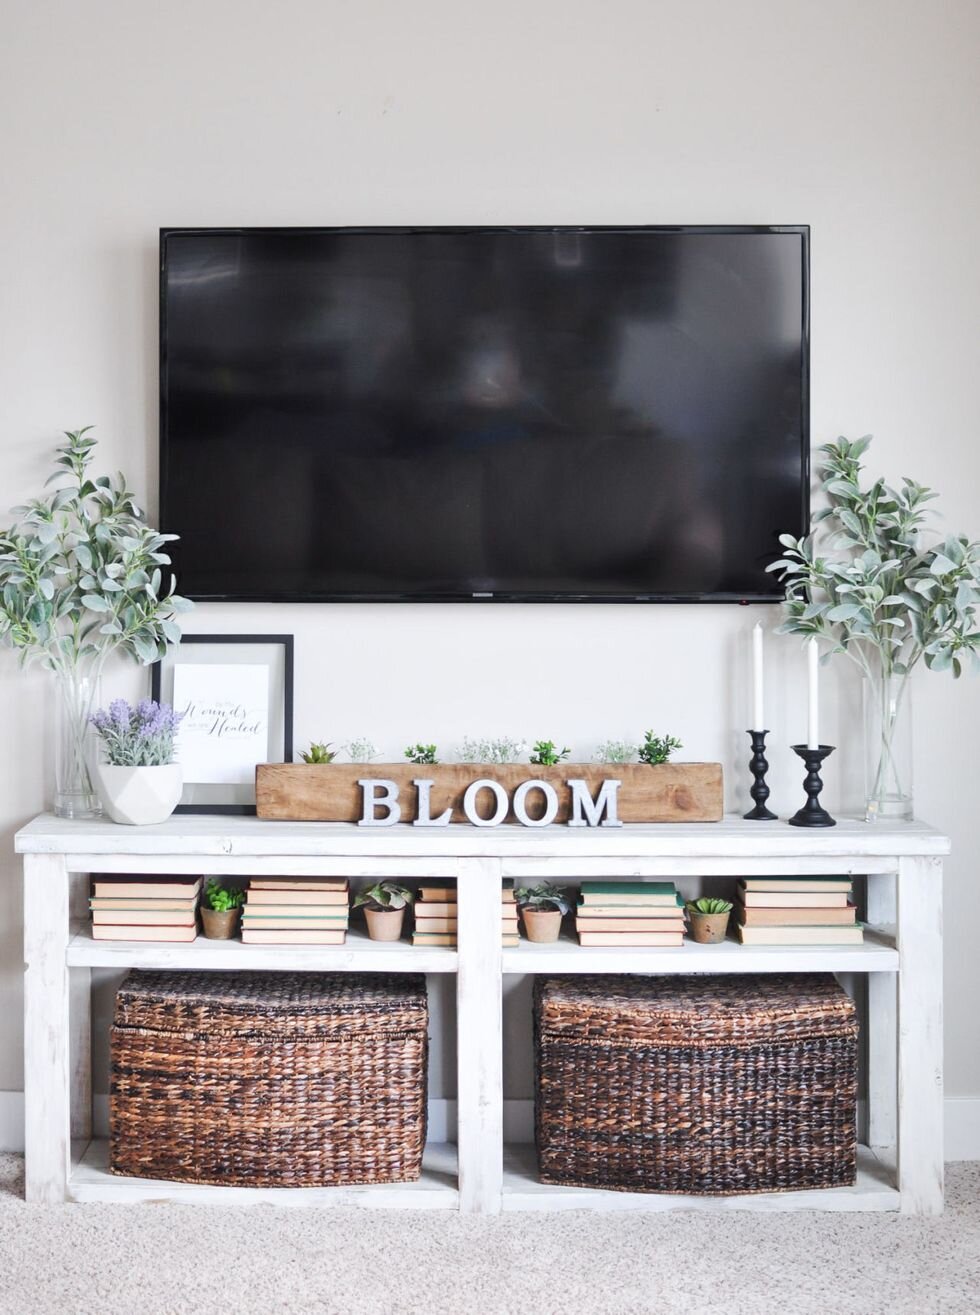
Image courtesy of Cherished Bliss
4. UPDATE YOUR BOOKSHELVES
Remove any clutter, give them a good clean and keep items that work with a spring time palette.
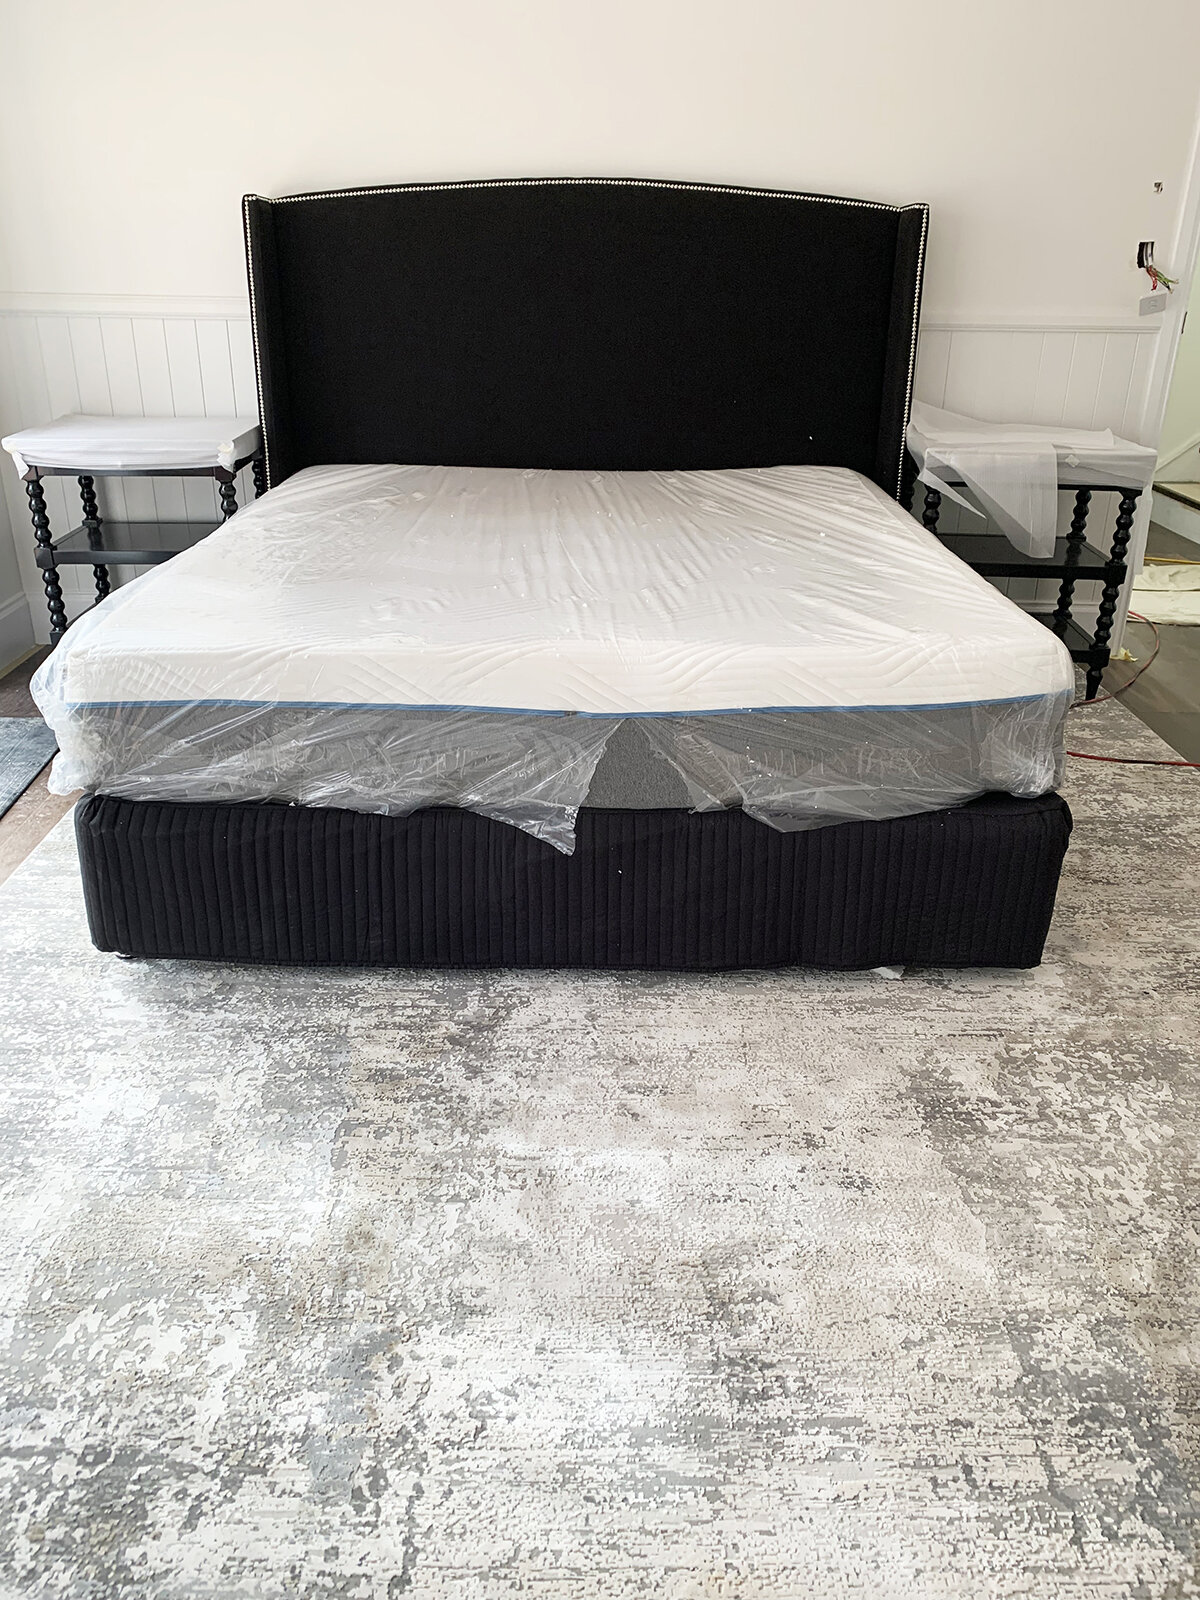
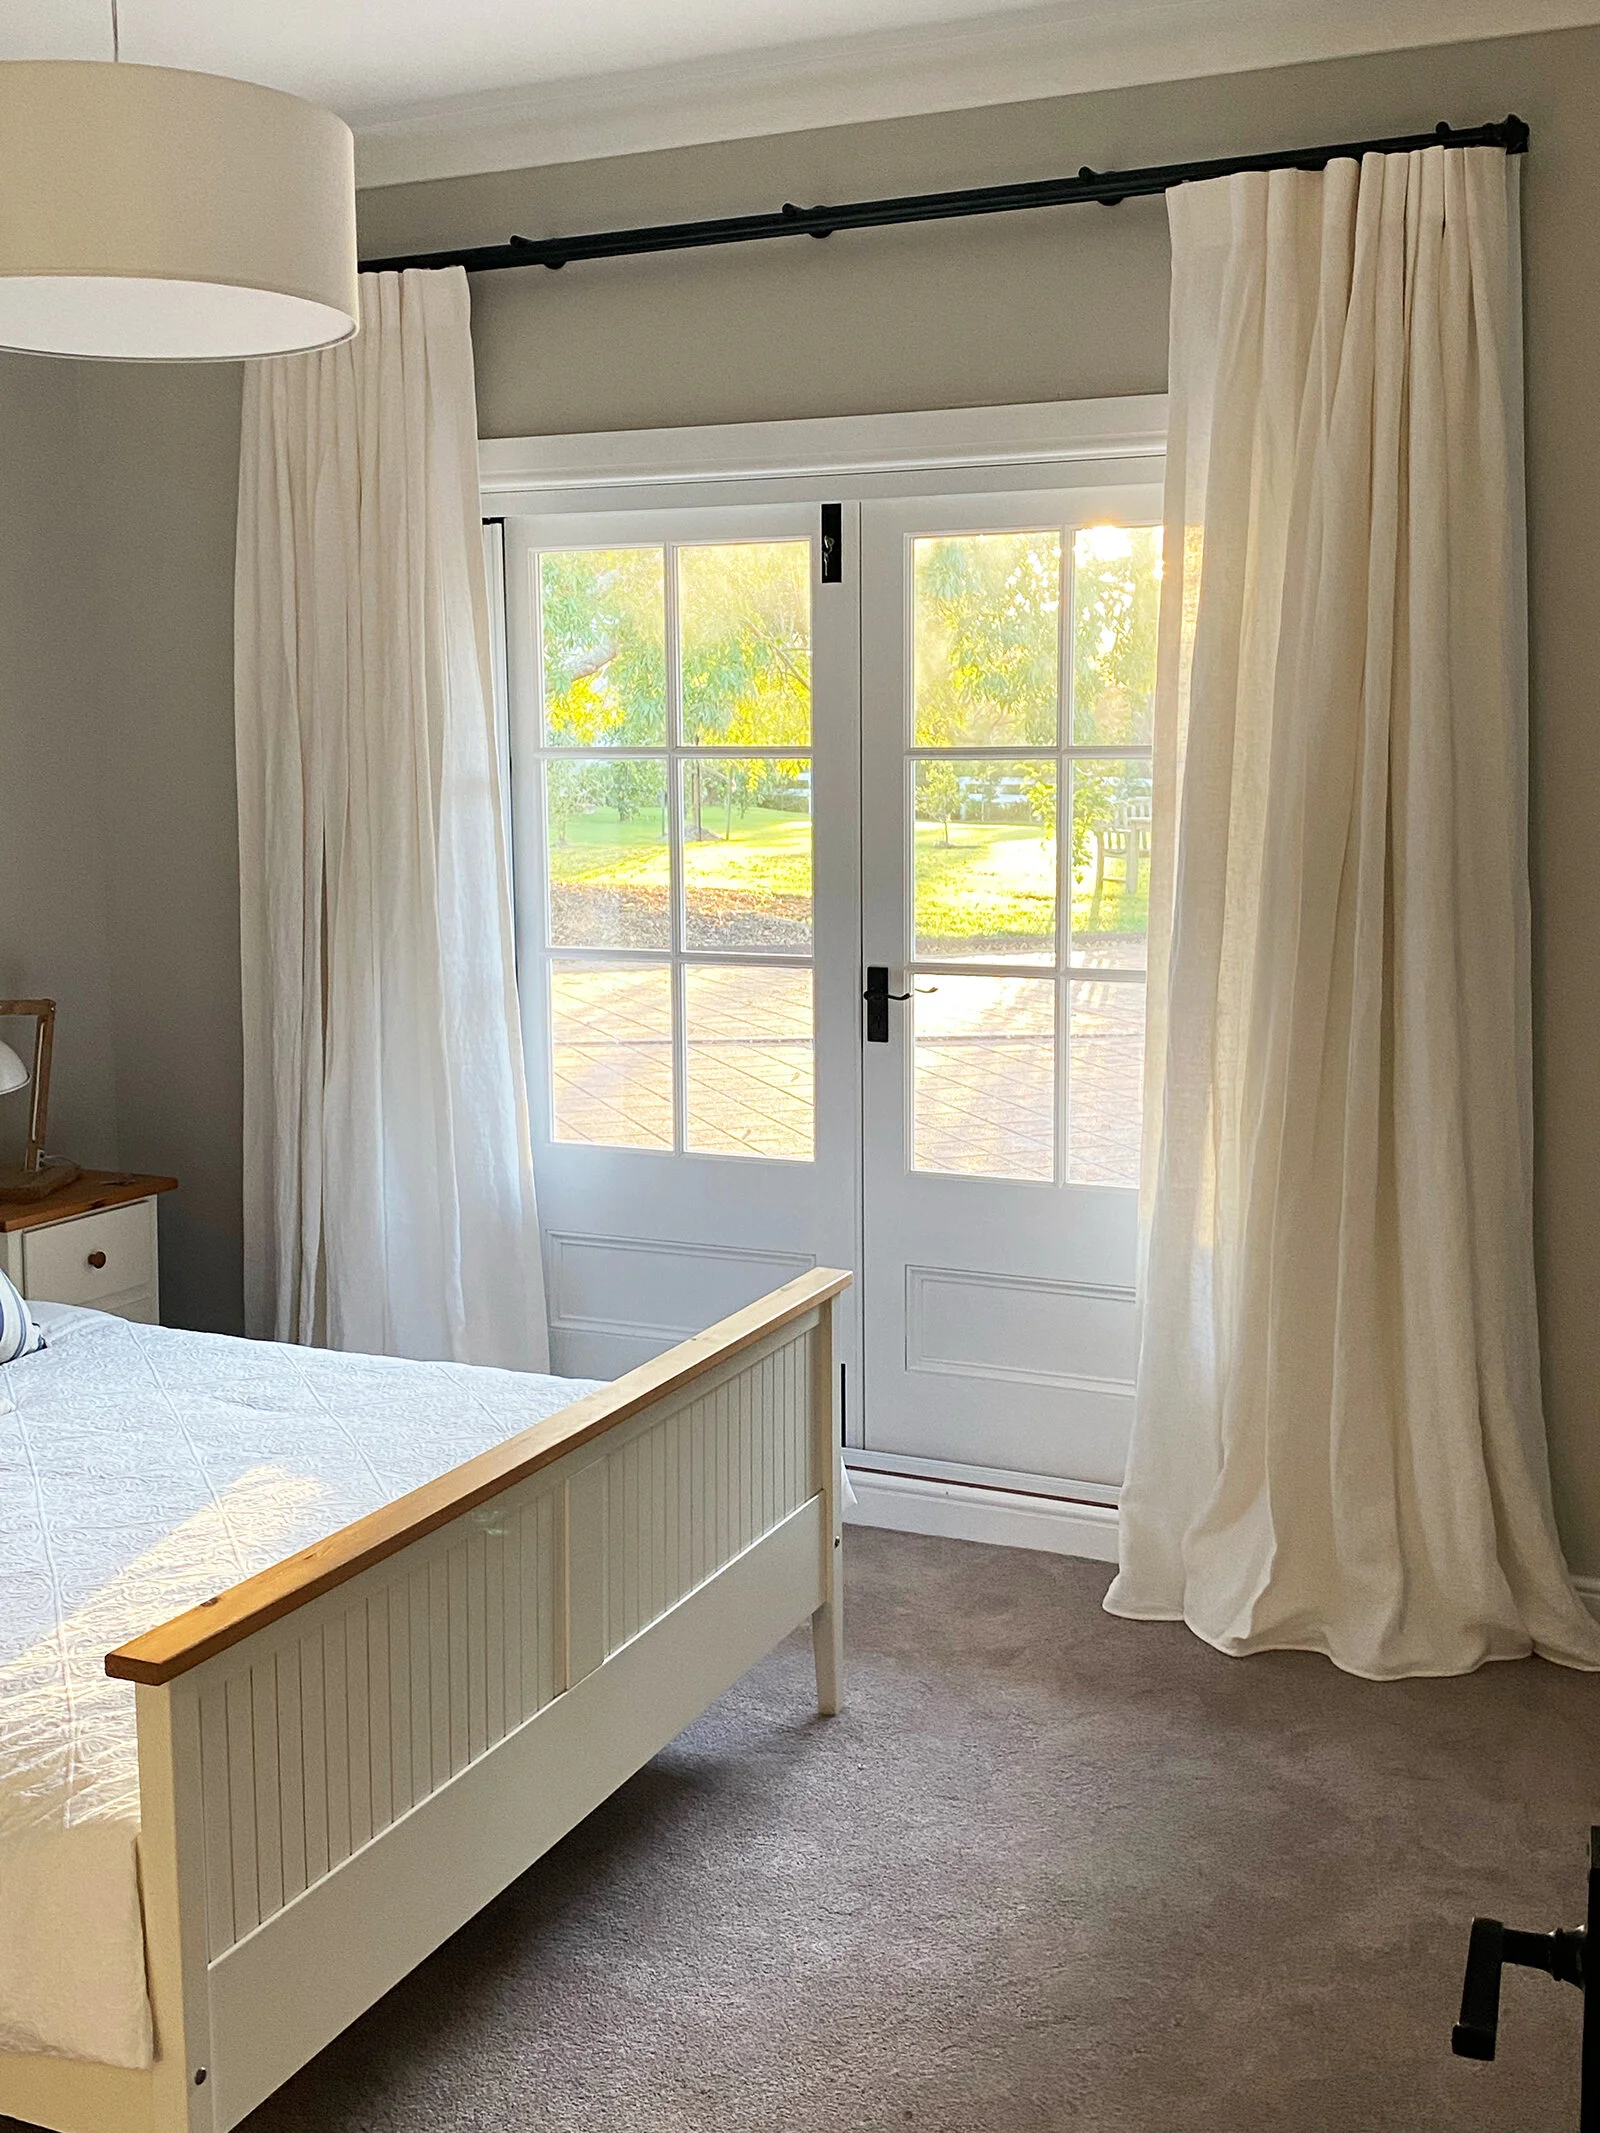
5. BRING SPRING TO THE BEDROOM
Give the bedside table a cull. Get rid of the pile of books from those wintery sessions under the doona. Add a lovely vase with flowers next to your lamp and a candle. Gorgeous!
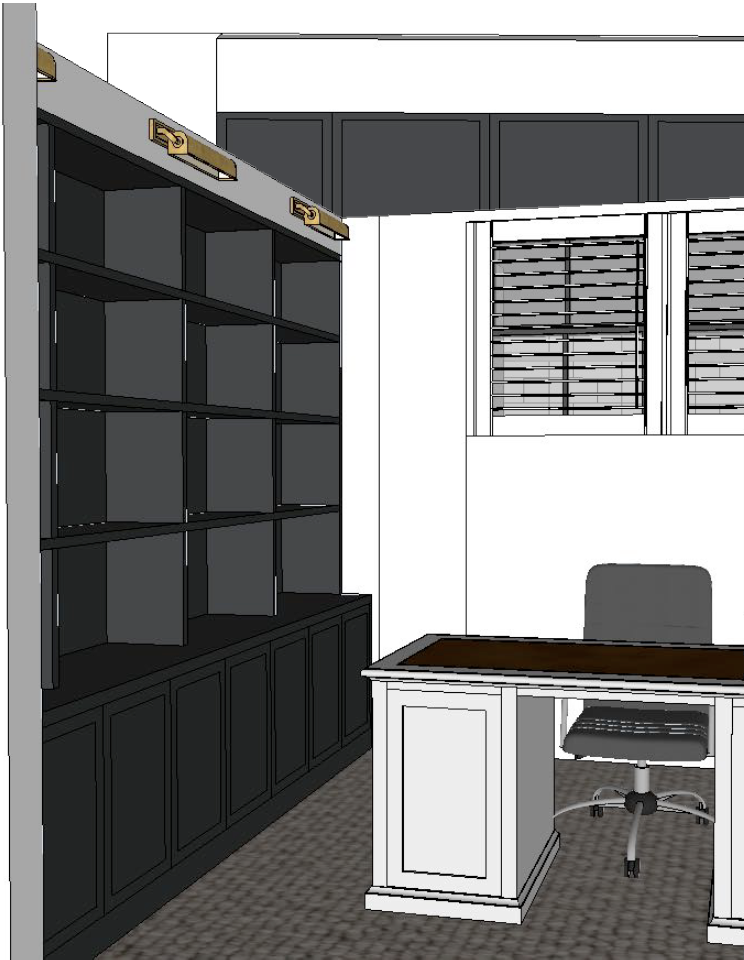
6. BRIGHTEN UP THE WORKSPACE
With a lot of us now working from home, it is important to keep these spaces light and airy to lift your mood. So have a go at bringing spring to your desk through a few colourful accessories.
3 THINGS I’VE LOVED RECENTLY
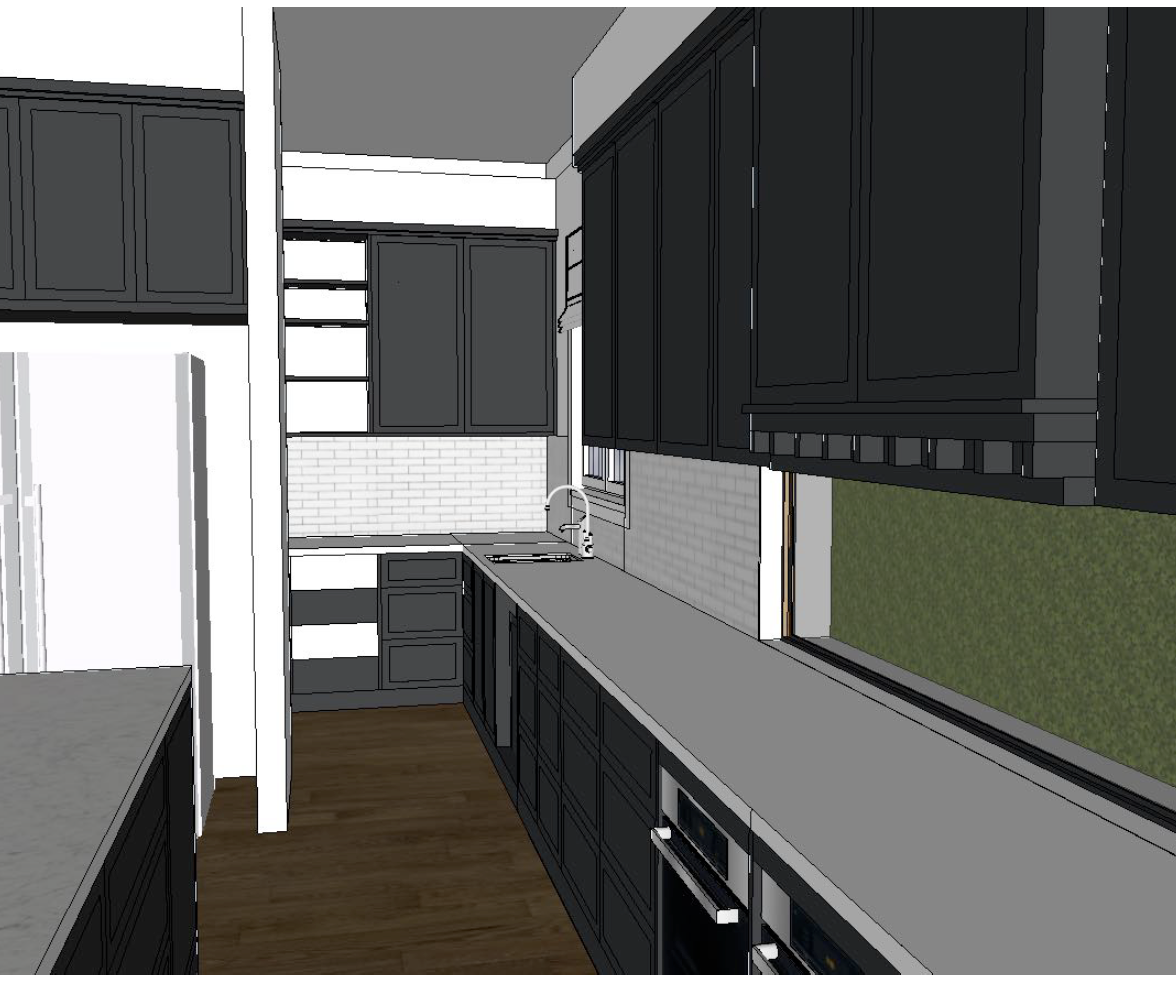
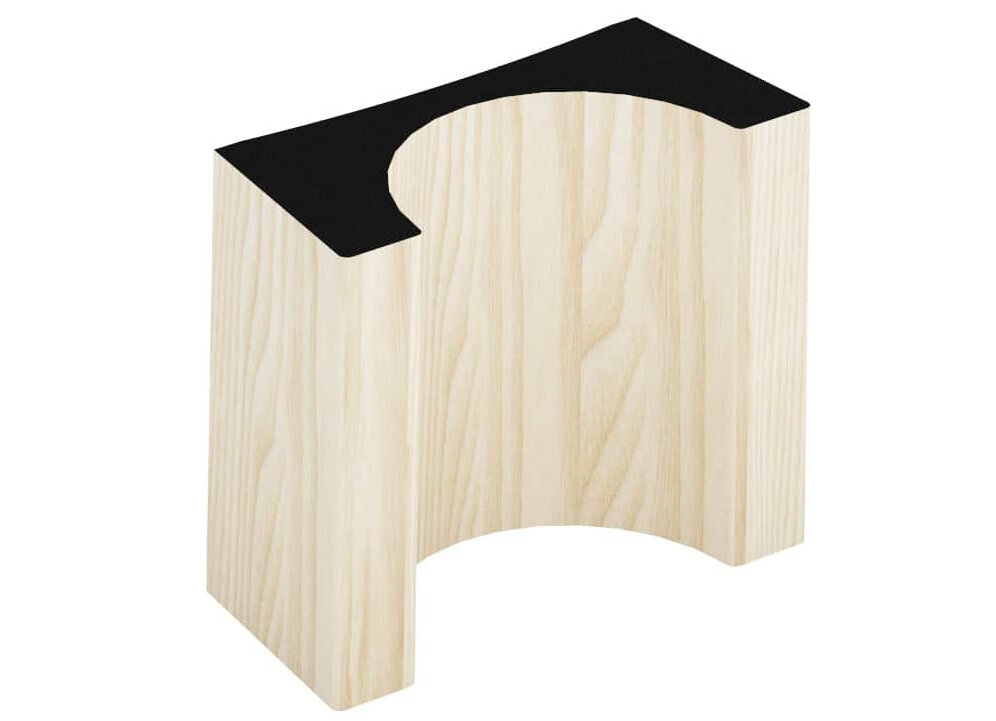
Who doesn’t love a good moulding. This new moulding from Intrim Concave CC60 is so versatile and on trend. It creates lovely texture on walls or cabinetry.
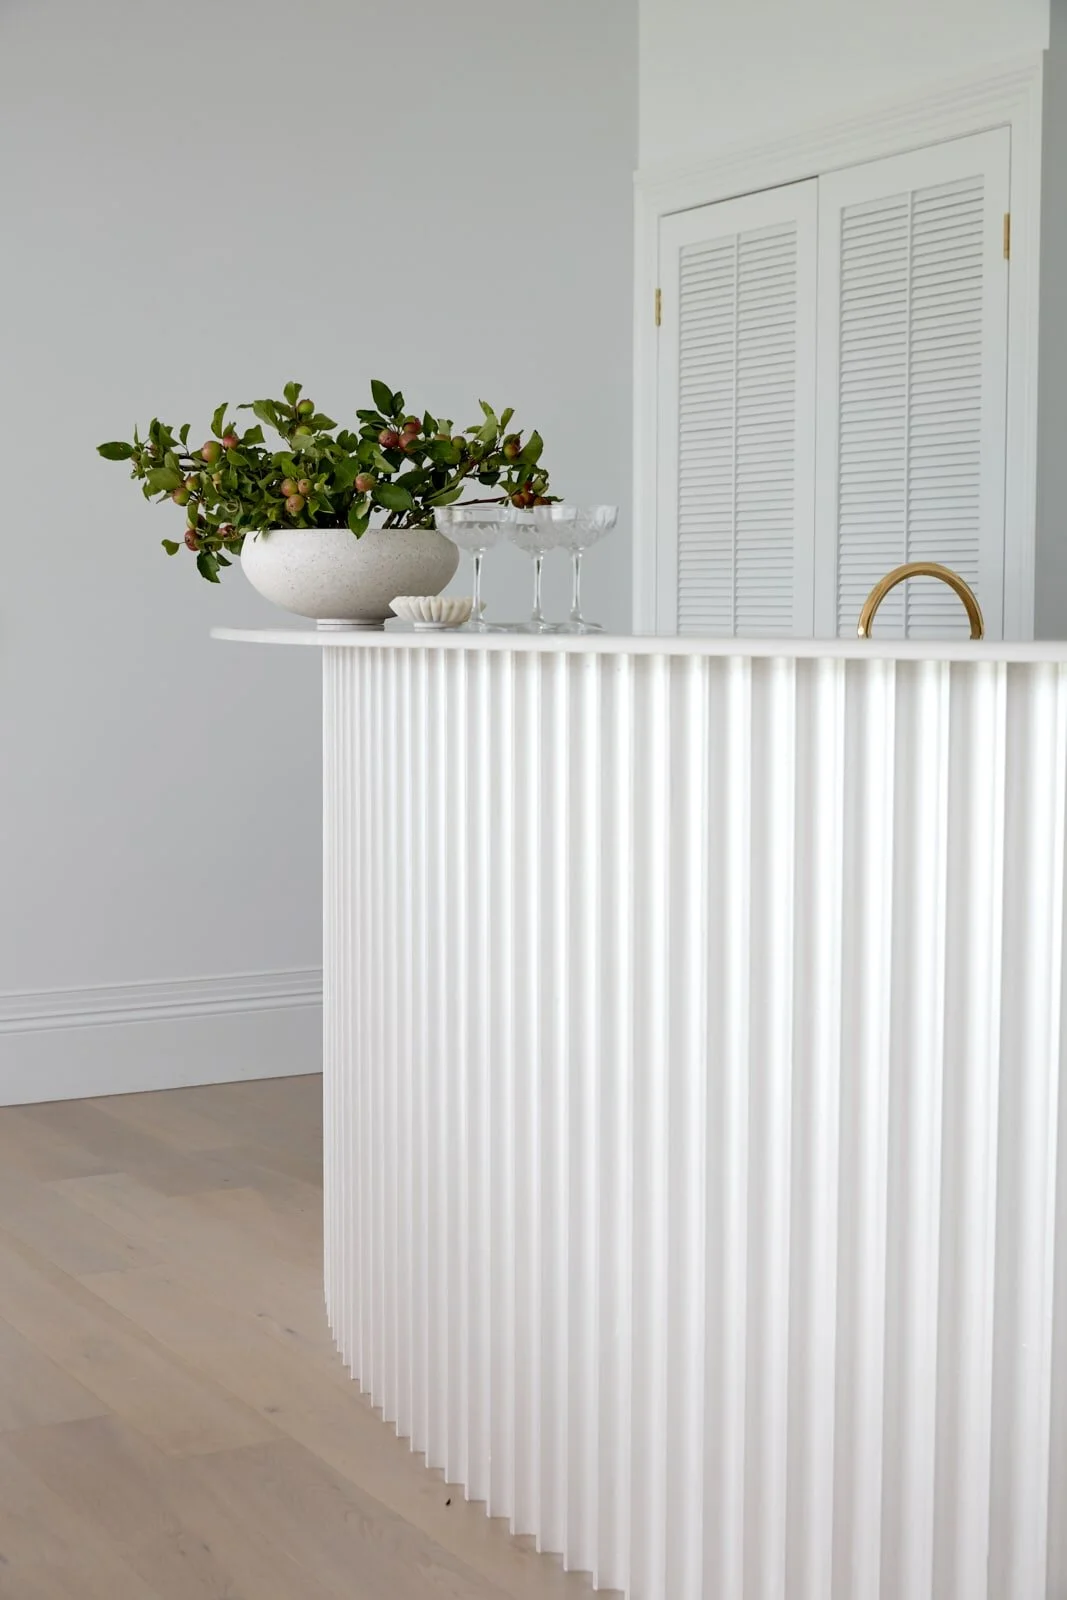
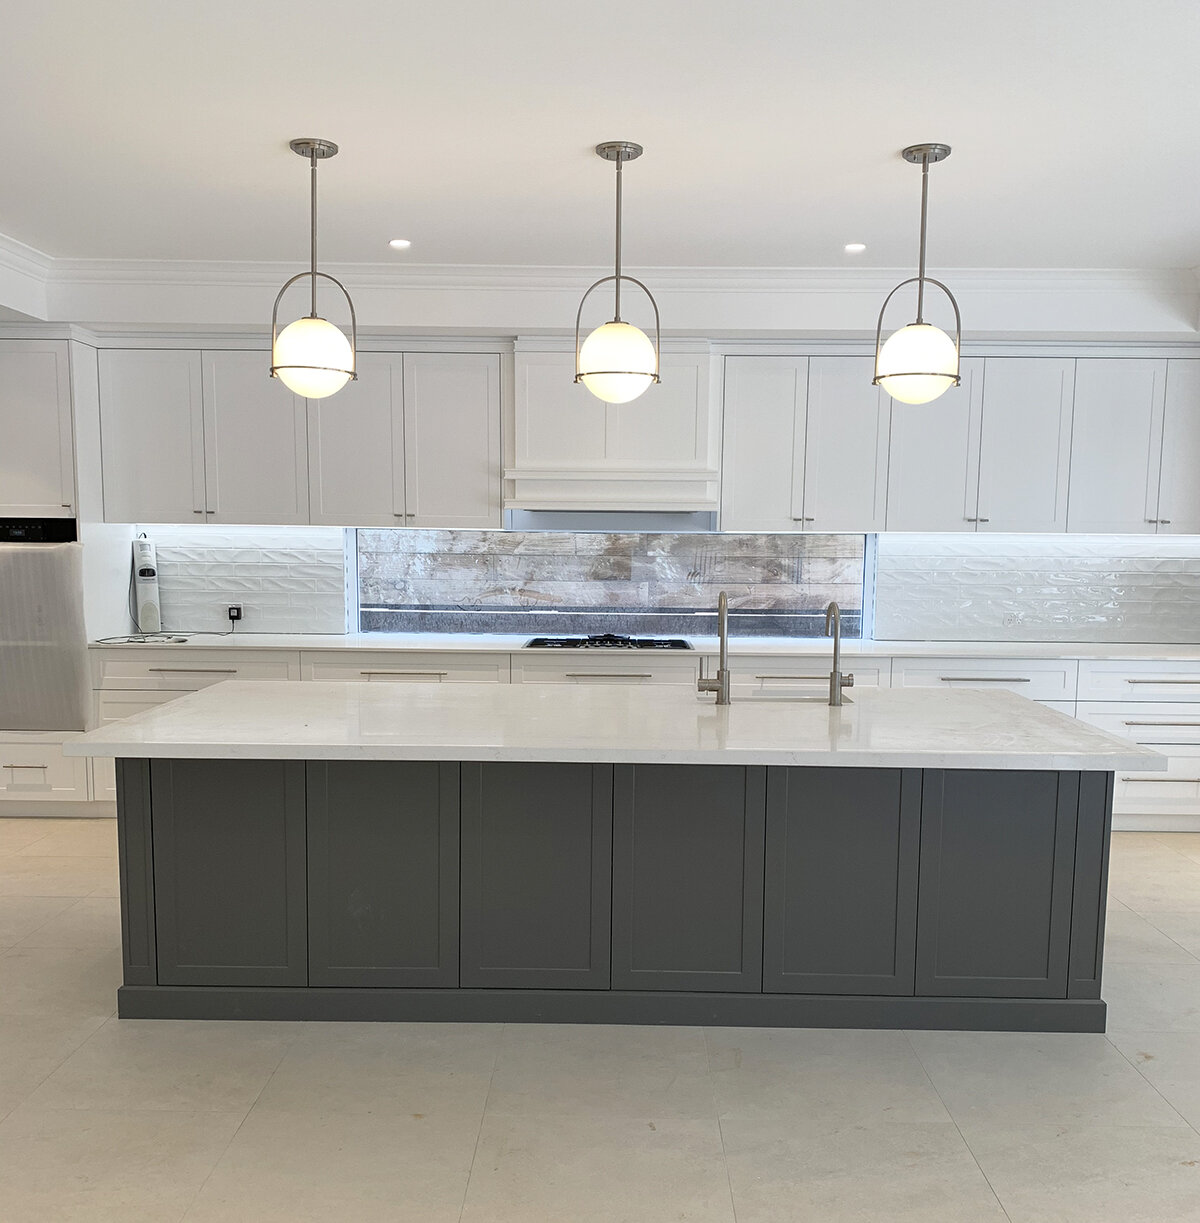
Three Birds Renovations H13 house kitchen/bar
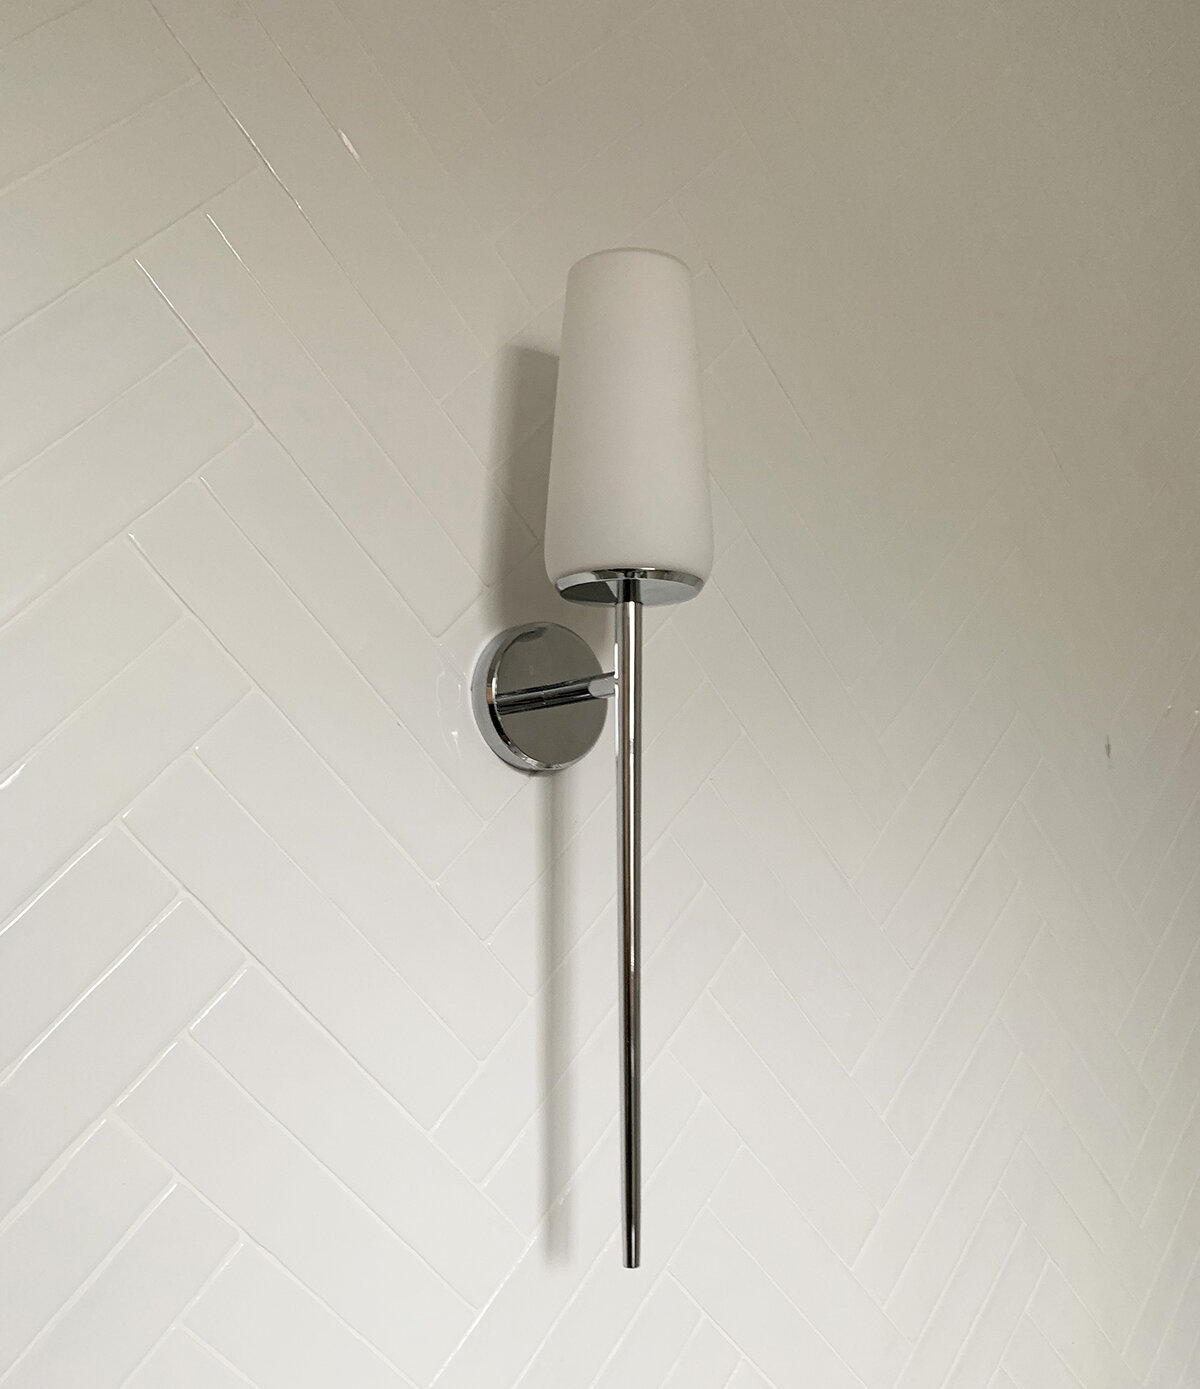
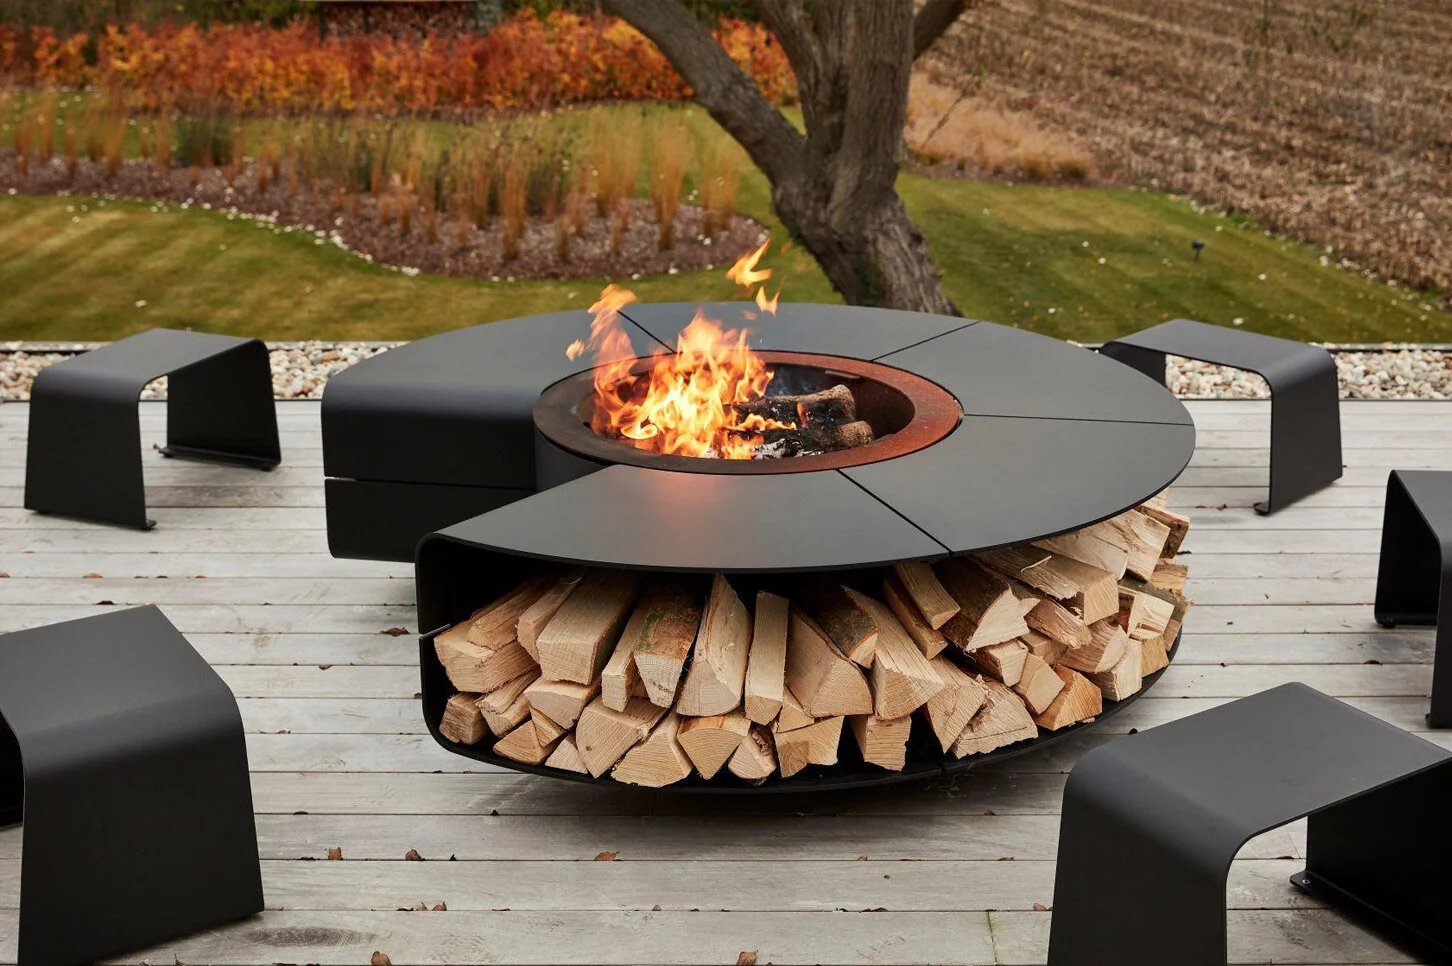
I was flicking through Instagram a few nights ago and came across these lights from Mondoluce. They would certainly encourage you outside on a spring night.

Talking about adding green to your rooms to lift your spirit and welcome in spring, isn’t this green just gorgeous. It has just gone up on the wall of my client’s daughter’s room – it is called Dulux Camouflage Green. I think it is such a lovely pop of colour!

PROJECT UPDATE
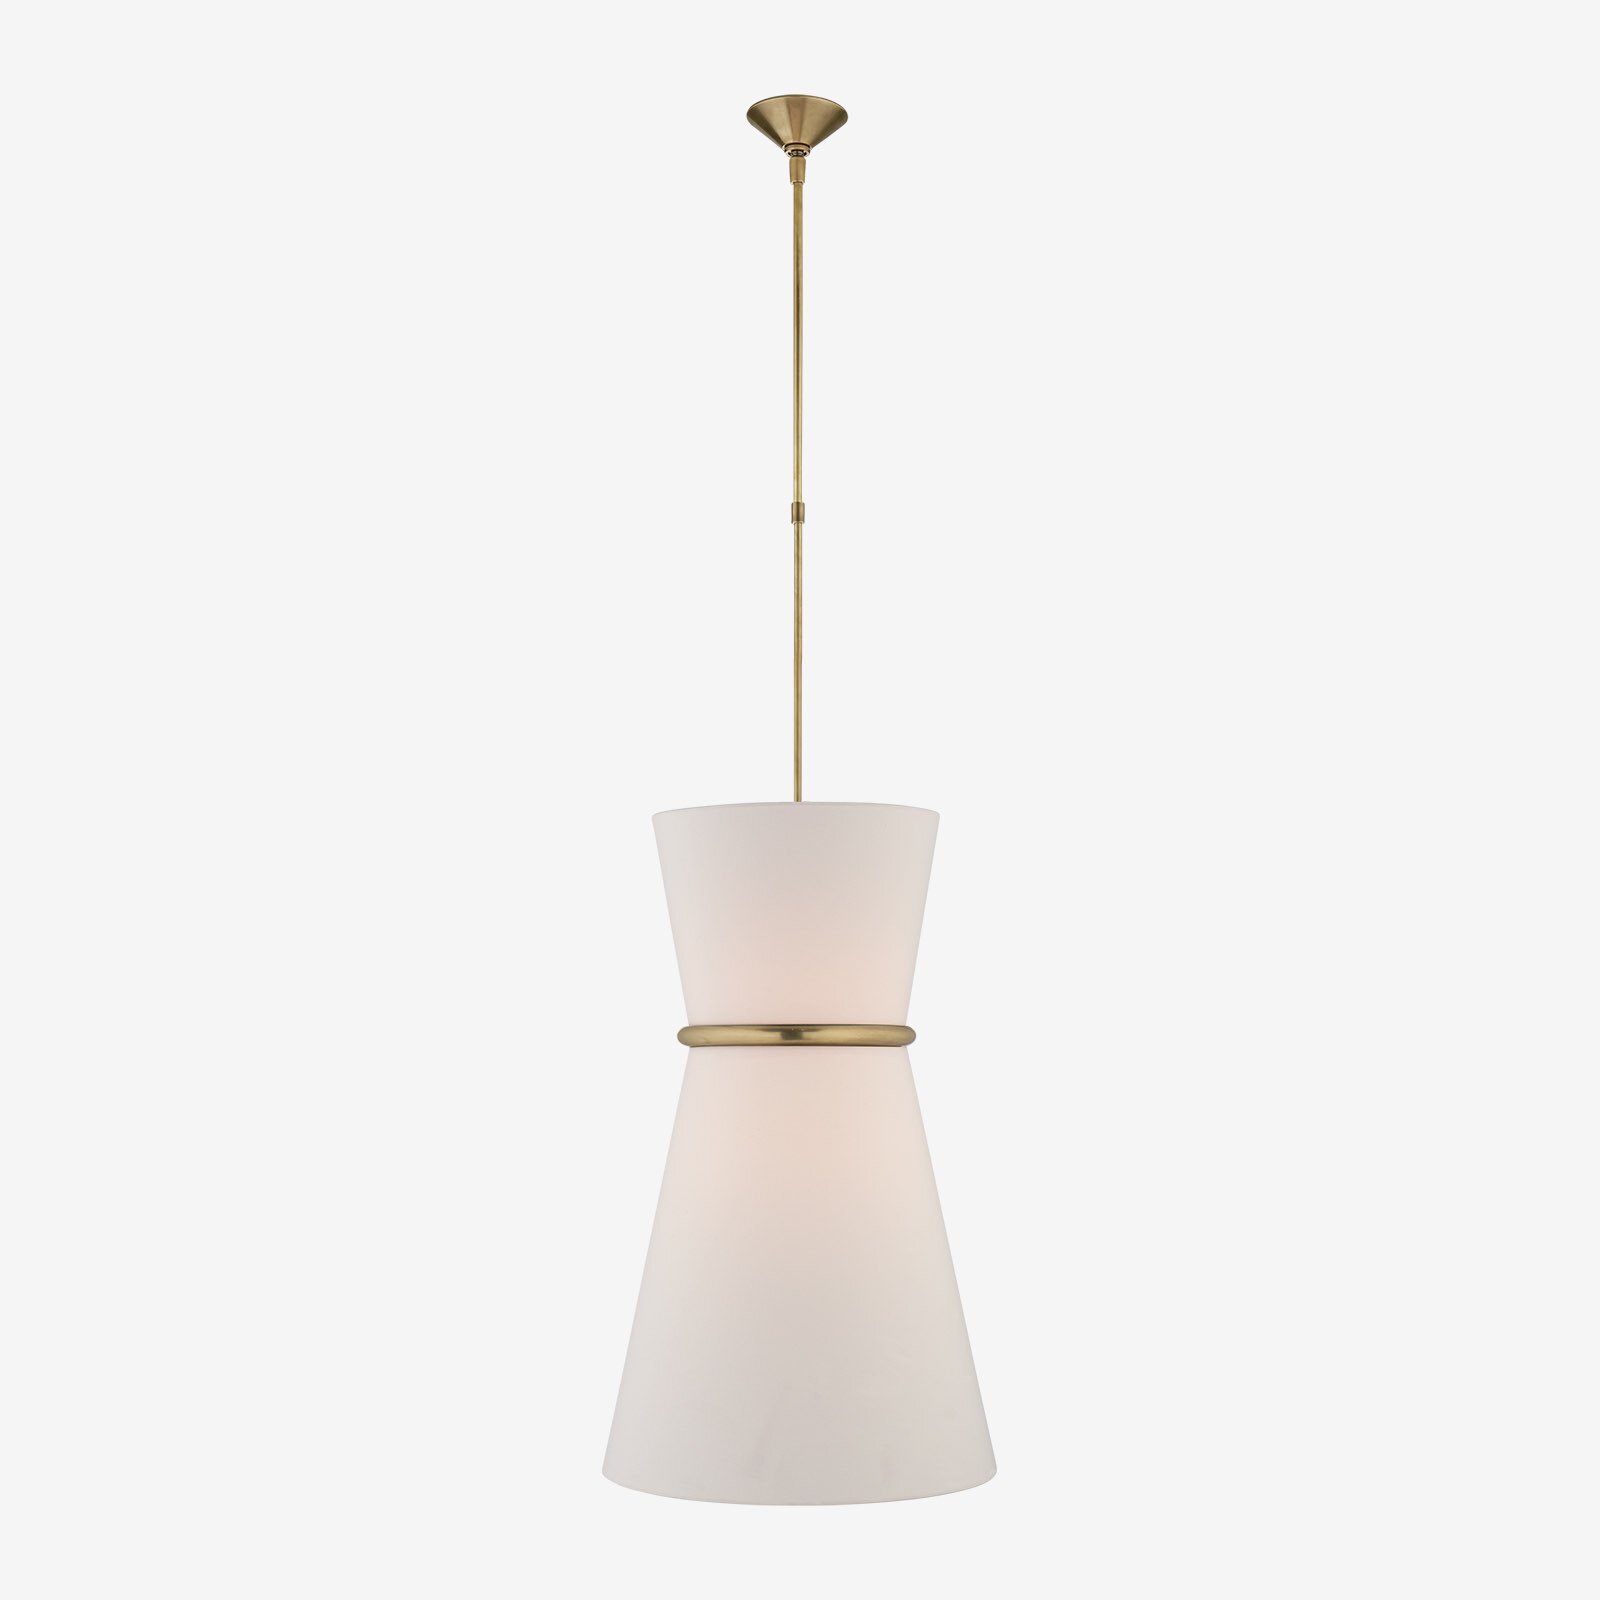
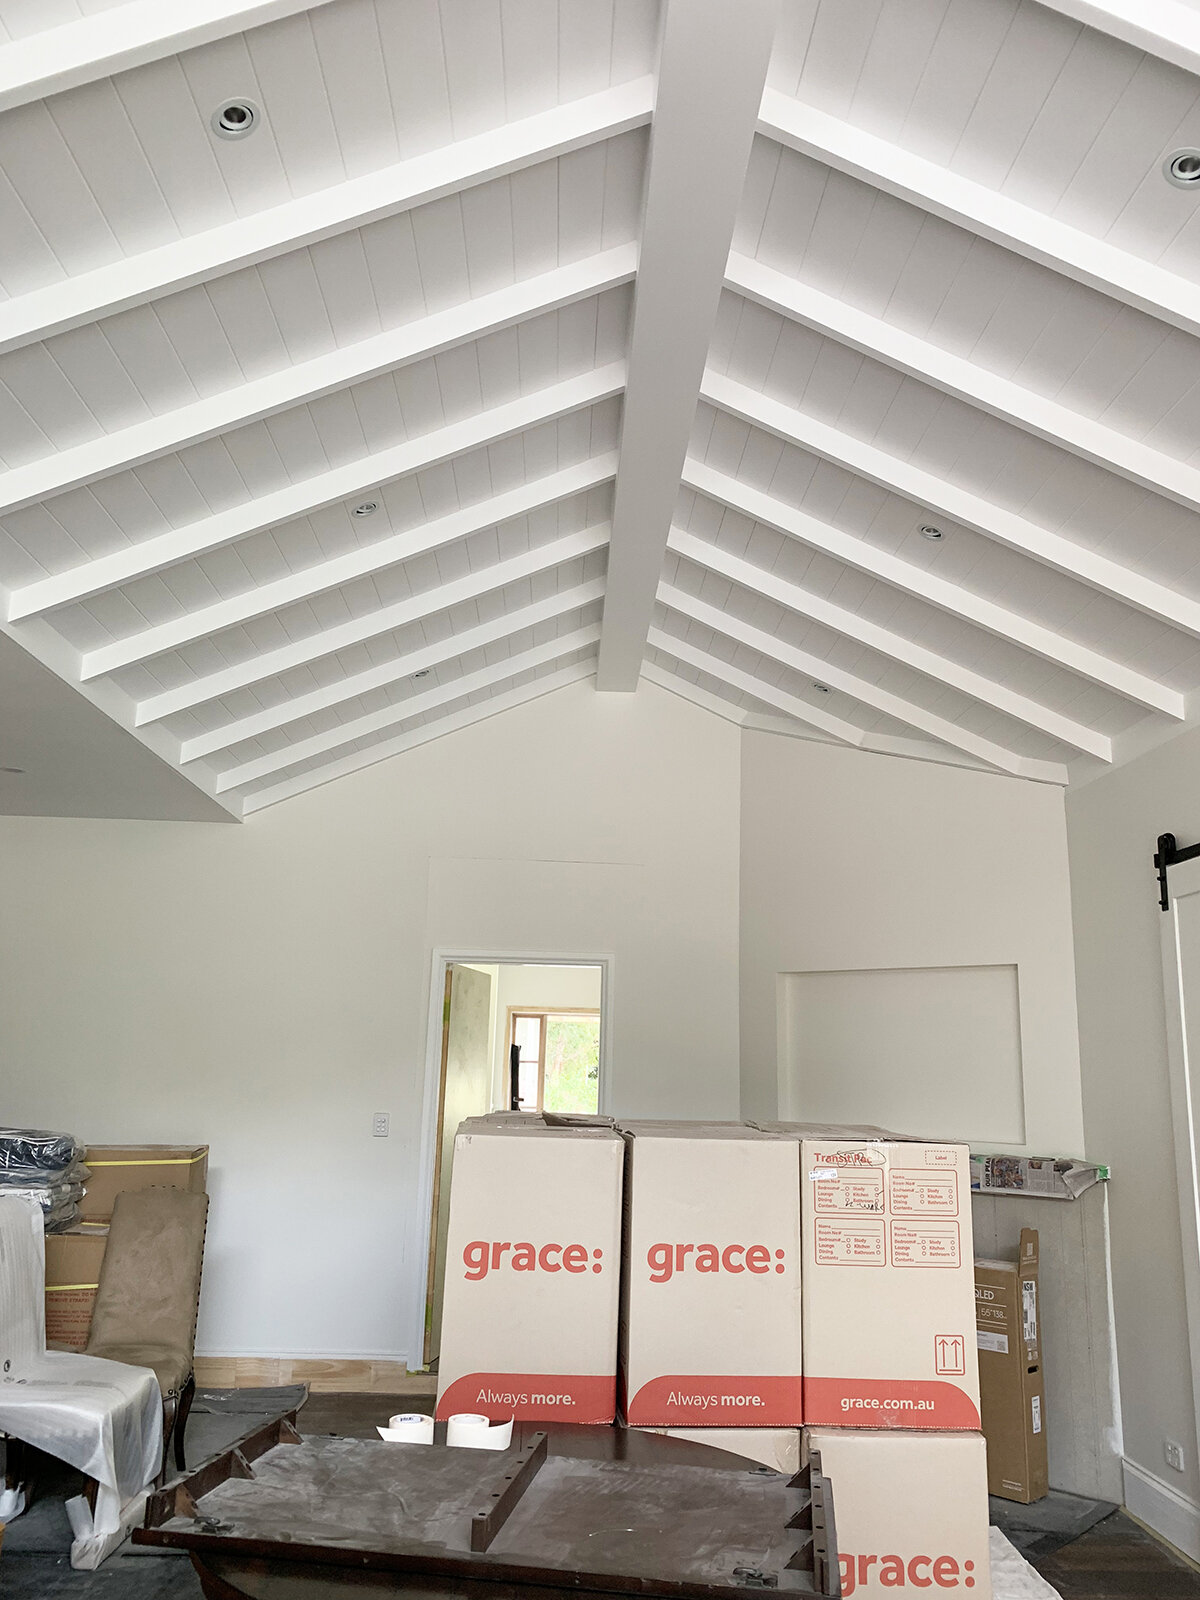
For those who have been following along with our new home build, here is the latest update. The frame is up and it is always a good idea at this stage to mention to your builder any fixtures or fittings that may need extra support. We are adding some feature pendants so they can put in extra timber to support these larger pendants.

I do hope this month’s blog post inspires you to add in a little spring cheer to your home. Until next month, bye for now.
Take care
Jules xx